
Last updated November 21, 2026
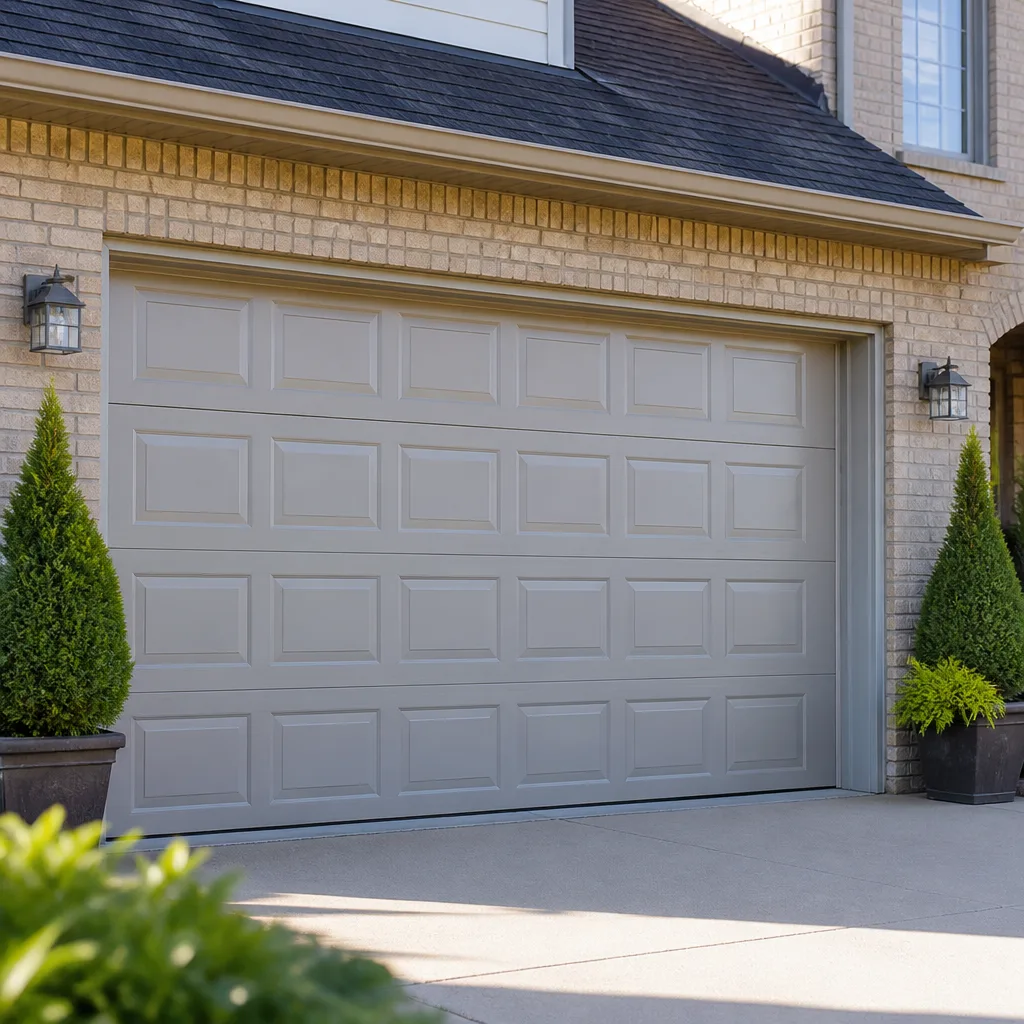 Raised-panel steel
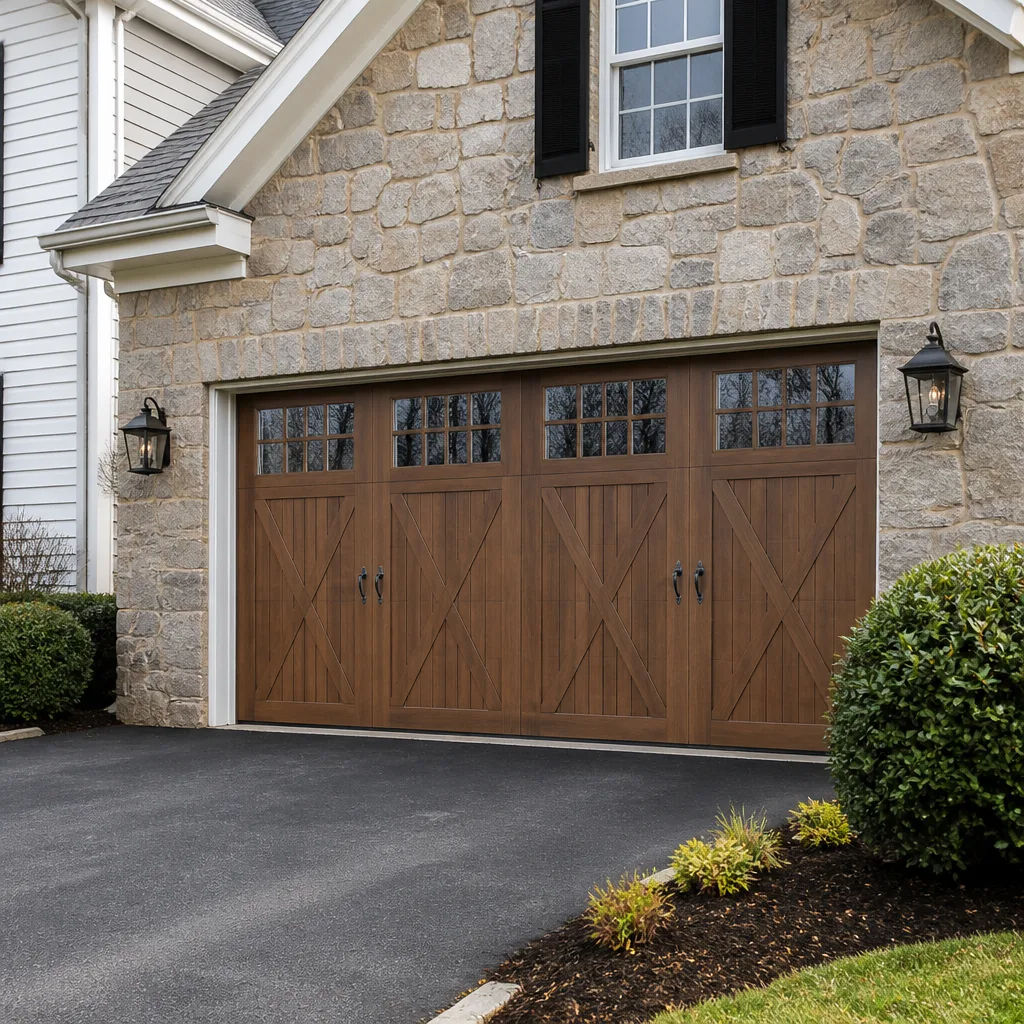 Carriage house
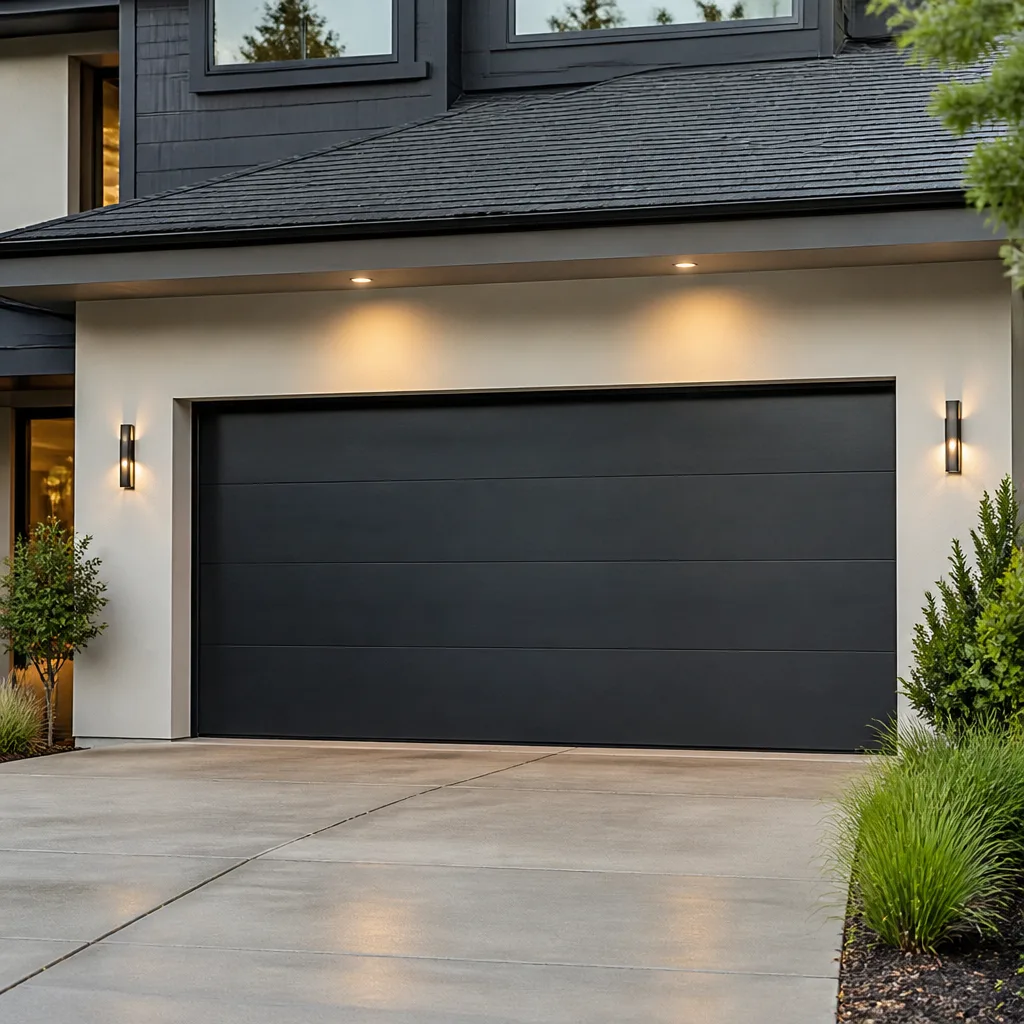 Modern flush
 Full-view glass
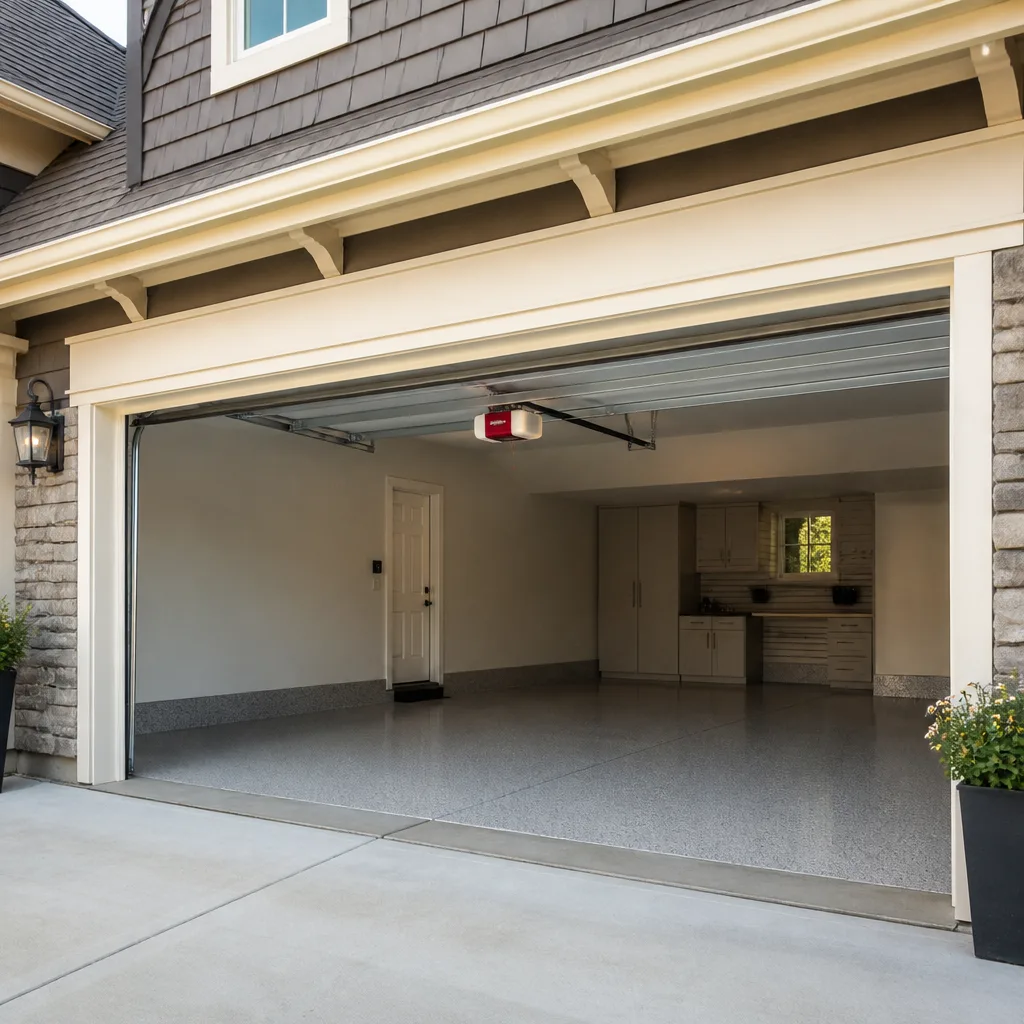 LiftMaster openers
 Chamberlain openers
Full 25-point door and opener safety check with every visit - springs, cables, rollers, tracks, and your LiftMaster or Chamberlain opener included
You get a price before we start. It does not change when the pro arrives.
Get your free estimateDIY vs Professional Garage Door: The Noblesville Homeowner’s Decision Guide
Torsion springs store enough energy to break a wrist or take out an eye when they fail under tension. That’s not a scare tactic. It’s physics. But replacing weatherstripping or reprogramming a keypad? A homeowner with 30 minutes can do it correctly every time. The problem is that most advice online treats “DIY garage door repair” as one decision, when it’s really a dozen different jobs with very different risk profiles. This guide draws a hard line between the tasks you can genuinely handle and the ones where the injury risk is real, not theoretical. We’ll cover what tools each job needs, what DIY errors quietly cost you, and how to triage a failed door in Noblesville before you decide anything.
Quick Answer
Safe DIY garage door tasks are limited to weatherstripping, lubrication, tightening visible bolts, cleaning photo-eye lenses, and reprogramming remotes or keypads. Anything involving torsion or extension springs, cables, tracks, panels, or the opener’s internal gearing should go to a trained technician, because those jobs carry real injury risk and often void warranties when done wrong. Most Noblesville homeowners should handle the light maintenance themselves and call a pro for anything that holds the door’s weight.
Styles & brands we work with
- Raised-panel steel
- Carriage house
- Modern flush
- Full-view glass
- LiftMaster openers
- Chamberlain openers
Table of Contents
- Which garage door tasks are genuinely safe to DIY?
- Which repairs carry real injury risk?
- What tools and skill level does each DIY task actually need?
- What does a DIY mistake really cost you?
- How does Indiana liability work when DIY work later causes damage?
- How do you triage a failed door in the first 10 minutes?
- How does Noblesville weather affect your repair choices?
- Why does your door’s brand change the DIY calculation?
Which garage door tasks are genuinely safe to DIY?
Five common garage door jobs are safe for a careful homeowner with basic tools: weatherstripping replacement, track lubrication, bolt tightening, photo-eye cleaning, and remote or keypad programming. None of these involve stored spring tension, moving door weight, or the opener’s internal mechanism. They’re the tasks we’d tell a neighbor to handle themselves without hesitation.
Here’s the honest list, with what each actually involves:
- Weatherstripping and bottom seal replacement. The rubber strip along the bottom of the door wears out every few years, especially with Indiana’s freeze-thaw cycles. You slide the old seal out of its channel and slide a new one in. Ten minutes, one tool (usually a pair of pliers), no risk.
- Lubrication. A garage door has hinges, rollers, and a track that need lubricant a couple of times a year. White lithium grease on the hinges and a silicone spray on the tracks covers it. Avoid the chain or belt itself unless the opener manual says otherwise.
- Tightening visible bolts and hinges. Vibration loosens the bracket bolts over time. A socket set and 15 minutes eliminate most rattles. Only touch bolts you can see and reach with the door fully closed.
- Cleaning photo-eye lenses. The two small lenses near the bottom of the tracks get dusty and stop talking to each other. A dry cloth fixes it.
- Programming remotes and keypads. Every opener brand has a pairing sequence printed in its manual. For Chamberlain and Genie units, for example, it’s a button press on the motor head and a press on the remote. Two minutes, zero risk.
Those five tasks represent most of what actually goes wrong with a garage door in day-to-day use. The dramatic stuff – springs, cables, opener gears – is a different category entirely. If your door is doing something odd that isn’t on this list, jump ahead to the triage section before you touch it.
Which repairs carry real injury risk?
Torsion springs, extension springs, and the cables that run alongside them are the repairs you should never attempt yourself. A torsion spring on a standard residential door holds hundreds of pounds of torque at rest. When it fails or is released improperly, it doesn’t politely unwind; it snaps with enough force to break bones or worse. This isn’t a “be careful” situation – it’s a “use the right winding bars, the right technique, and a trained pair of hands” situation.
The pro-only list:
- Torsion spring replacement. Requires winding bars, a specific number of quarter-turns matched to your door’s weight, and controlled release of stored energy. We’ve seen the aftermath of a failed DIY attempt, and it’s never pretty.
- Extension spring replacement. Less dramatic than torsion, but the springs are still under high tension and the safety cables must be routed correctly. A failed extension spring can travel across a garage.
- Cable replacement. Cables are under tension whenever the door is up. They also have to be wound on the drum in a specific pattern.
- Track realignment and panel replacement. A bent track or damaged panel has to be squared to the door’s travel path or you’ll wear out rollers fast. Panel swaps also require matching your door’s specific brand and model – Clopay and Amarr panels aren’t interchangeable, even when they look similar.
- Opener gear, capacitor, and logic board replacement. The opener motor stores energy in the capacitor even when unplugged, and the internal gearing needs to be timed correctly. Live electrical work should go to a trained technician.
We treat spring repair as its own dedicated service because it’s genuinely dangerous work. If you take one thing from this guide, take this: springs are under extreme tension, and this is not a DIY repair.
What tools and skill level does each DIY task actually need?
Most “moderate skill” labels in online guides are useless. Here’s what each DIY task actually requires in tools and hands-on ability, without the vague categories.
- Weatherstripping replacement: Pliers, utility knife, replacement seal from your door’s brand. Skill level: none. If you can change a lightbulb, you can do this.
- Lubrication: White lithium grease, silicone spray, a rag. Skill level: none. Wipe first, spray second, don’t overdo it.
- Tightening bolts: Socket set or adjustable wrench. Skill level: low. Just don’t overtighten – stripped threads on a hinge bracket are annoying to fix.
- Photo-eye cleaning: Dry cloth, maybe a step stool. Skill level: none.
- Programming remotes/keypads: The opener manual. Skill level: none once you’ve read the pairing sequence.
- Bottom seal with a metal retainer: Screwdriver, replacement retainer and seal. Skill level: low. Slightly harder than the rubber-only version because you’re working with fasteners.
That’s the whole safe-DIY tool kit. If a repair requires a winding bar, a come-along, or anything that sounds like it belongs in a workshop, it’s not on the DIY list. It’s on the call-us list.
One more tool worth having: your door and opener manuals. The brand printed on your motor – Chamberlain, Genie, LiftMaster, whatever it is – matters, because the programming sequences and part numbers are brand-specific. We work on garage door opener repair across all eight major brands, and the number one reason homeowners get stuck on a DIY repair is that they were following a guide for a different brand’s unit.
What does a DIY mistake really cost you?
A DIY mistake on a garage door usually costs more than the repair would have. Not because the labor is expensive, but because the wrong repair damages things that weren’t broken yet. Three failure modes account for most of the hidden cost.
Voided opener warranties. Every major opener brand requires professional installation or repair to keep the warranty intact. If you crack the logic board while trying to replace the gear, or if a DIY installation burns out the motor, the manufacturer can decline the claim. That’s the whole warranty on a part that costs more than the repair itself would have.
Misaligned tracks that accelerate roller wear. This is the sneakiest one. When a track is slightly out of square, the rollers scrape instead of roll. Nothing feels broken at first. Six months later the rollers are chewed up and the door is noisy, and you’re paying for both rollers and the original track issue. Noblesville’s freeze-thaw cycles make this worse, because a door that was fine in July can start binding in January.
Improper spring sizing. Springs are matched to the door’s weight. Install a spring rated for a different door weight and you’ll either get a door that won’t stay open or one that slams down hard on the operator arm. Neither is safe, and both wear out the opener motor faster than it should.
The pattern across all three: you pay for the original repair twice, plus the collateral damage. That’s the real “hidden cost of DIY.” It’s not a scare number. It’s the math on doing the job wrong.
How does Indiana liability work when DIY work later causes damage?
Homeowners insurance in Indiana generally covers accidental damage to your own property, but it typically doesn’t cover injury to someone else when that injury results from work that wasn’t done to code or was done improperly. That’s a fact worth knowing before you decide to swap a spring yourself. If a spring you installed fails and injures a family member or neighbor, the claim can get complicated fast.
A few practical points to keep in mind:
- Indiana doesn’t require a permit for standard garage door spring or opener replacement on a single-family home. That’s true, but “no permit required” doesn’t mean “no liability.” It means no inspection is triggered, so the only record of the repair’s quality is the work itself.
- Homeowners insurance may ask who did the work. If a DIY repair later causes structural damage (a failing torsion spring can warp the door’s frame if it’s unevenly loaded), your adjuster will want to know if a licensed contractor performed it. “I did it myself” is a valid answer, but it can shift the claim decision.
- Selling the house later. A garage door repair done by a professional usually comes with a warranty you can hand to the buyer. A DIY repair has no paper trail beyond your word.
- New construction and major remodel work. Building departments vary, and the rules differ by what’s actually being done. Check with your municipality before any structural change to the door opening. For spring and opener work, ask your insurance agent how your policy handles DIY repairs – not us, and not a website.
None of that says “don’t ever DIY.” It says the liability math differs depending on which repair you’re doing. Simple maintenance has essentially no liability footprint. Spring and cable work carries a real one.
How do you triage a failed door in the first 10 minutes?
When a door fails, the first ten minutes tell you whether you’re looking at a five-minute fix or a call. These steps are safe for any homeowner.
- Stop operating the door. Don’t keep pressing the remote hoping it’ll catch. If a spring, cable, or track has failed, running the opener makes the damage worse and can move the door unpredictably.
- Look at the door from a safe distance. Is it sitting crooked? Is one side lower than the other? A crooked door almost always means a spring or cable issue, and those go on the pro-only list.
- Check for a visible broken spring. Torsion springs live on the shaft above the door; extension springs run along the horizontal tracks. A failed spring has an obvious gap in it. Do not touch the spring itself. Just look.
- Check the tracks for bent sections. If you see a crease or a track that’s pulled away from the door jamb, stop here.
- Try the wall-mounted opener button. If the wall button opens the door but the remote doesn’t, it’s a remote or pairing problem, which is back on the DIY list.
- Check the photo eyes. Lenses misaligned or dirty are the single most common reason a door won’t close. Wipe them and check that both are pointed at each other.
If steps 1-4 turn up a spring, cable, or track issue, you’ve got your answer. If step 5 or 6 solves it, you’re done. For anything in between, garage door repair is the next call, because a trained technician can tell you in five minutes what an hour of troubleshooting online won’t. And remember: the price is quoted and agreed before any work starts. You’ll never get an invoice bigger than the estimate you approved.
How does Noblesville weather affect your repair choices?
Noblesville’s weather puts particular stress on garage doors in ways that matter for the DIY calculation. Central Indiana swings from humid summers to hard freezes in a single season, and each freeze-thaw cycle asks a little more of the door’s hardware. The practical effects are worth knowing.
Bottom seals wear out faster here than they do in milder climates because the rubber goes through repeated expansion and contraction. That’s a DIY task, but it’s one you’ll repeat more often than a homeowner in, say, Arizona. If you’re replacing the bottom seal in Noblesville and it’s already split, and the door is more than a few years old, check the retainer while you’re down there. A warped retainer is a track-alignment job, not a weatherstripping job.
Lubrication matters more here too. Cold weather thickens grease, and a door that was quiet in July can chatter in January because the hinges need fresh lubricant. It’s a five-minute fix that costs almost nothing and extends the hinge life noticeably. Do it before the first cold snap, not after.
Spring failures typically cluster around the coldest parts of the year and the hottest, because metal fatigues more when the temperature swings hard. That’s not a Noblesville-specific fact, but it’s why we get so many spring calls in January and July. If your door suddenly won’t lift one morning, the spring is the first thing a technician will check.
What about snow and ice? Keep the bottom seal clear after a storm. A seal frozen to the driveway will pull loose the next time the door lifts. That’s the one weather-related repair Noblesville homeowners actually cause themselves.
Why does your door’s brand change the DIY calculation?
Brand determines whether a DIY repair is a ten-minute fix or a doomed attempt. Every opener and door brand uses its own parts, its own programming sequence, and its own torque specs. A Genie opener doesn’t take Chamberlain remotes, and an Amarr door won’t accept a Clopay panel. Getting the brand right isn’t a selling point – it’s the difference between a working repair and one that fails.
Where brand matters most for DIY:
- Remote and keypad pairing. Chamberlain and LiftMaster use similar sequences, but Genie’s is different, and older Craftsman units have their own specific pairing. If you’re copying a YouTube video for the wrong brand, you’ll fight the pairing for an hour and then give up.
- Bottom seal sizing. The seal channel width varies by door brand. Measure the retainer channel before ordering; a slightly wrong seal either falls out or won’t slide in.
- Panel replacement. Waynes Dalton and Amarr panels aren’t cross-compatible even when the profile looks the same. Ordering a panel for the wrong brand is a return and re-order.
- Opener gear and logic board replacement. These are pro-only, but knowing your brand is still important, because the technician can bring the right part on the first visit instead of ordering it.
We work on LiftMaster, Chamberlain, Genie, Clopay, Amarr, Wayne Dalton, Craftsman, and Raynor systems specifically. Your brand, your model, done right – that’s the whole point of staying in one trade. If you’re ready to move from DIY to professional, garage door installation is also on the table, whether you’re replacing a single panel or the entire door and opener combination.
Common Mistakes to Avoid
- Winding a torsion spring without winding bars. Every year we see door damage from homeowners using screwdrivers or ratchets to try to wind a torsion spring. The stored energy doesn’t care what tool you’re holding; use the right tool, or don’t touch the spring.
- Assuming a bent track is just cosmetic. A slightly bent track in a Noblesville home can look fine visually and still wear out rollers within months. If the door runs uneven, the track is the problem.
- Replacing one spring when the pair is matched. Springs are paired for a reason – the two together balance the door’s weight. Replace one and you’ll replace the other within a year or two. Always ask whether you need one or a matched pair.
- Buying a replacement opener without checking the door’s weight first. An opener purchased for the wrong door weight either strains to lift the door or slams it down. The door’s weight matters more than the opener’s advertised lifting capacity.
- Ignoring the manual that came with the door or opener. Manuals are the only source of truth on torque specs, spring sizes, and brand-specific programming. Generic YouTube advice will lead you wrong on any specific brand.
- Calling a general handyman for spring work. Spring repair requires specific tools and training, and most general handymen either decline the job or learn on yours. When the door won’t lift, we treat spring repair as a safety-critical service, and we’d rather you call a technician than a generalist.
- Assuming a door that fails on Saturday has to wait until Monday. We’re closed Saturday, but if your door fails that day, call and we’ll book you into Sunday, which is a dispatch day during our 7am to 7pm hours.
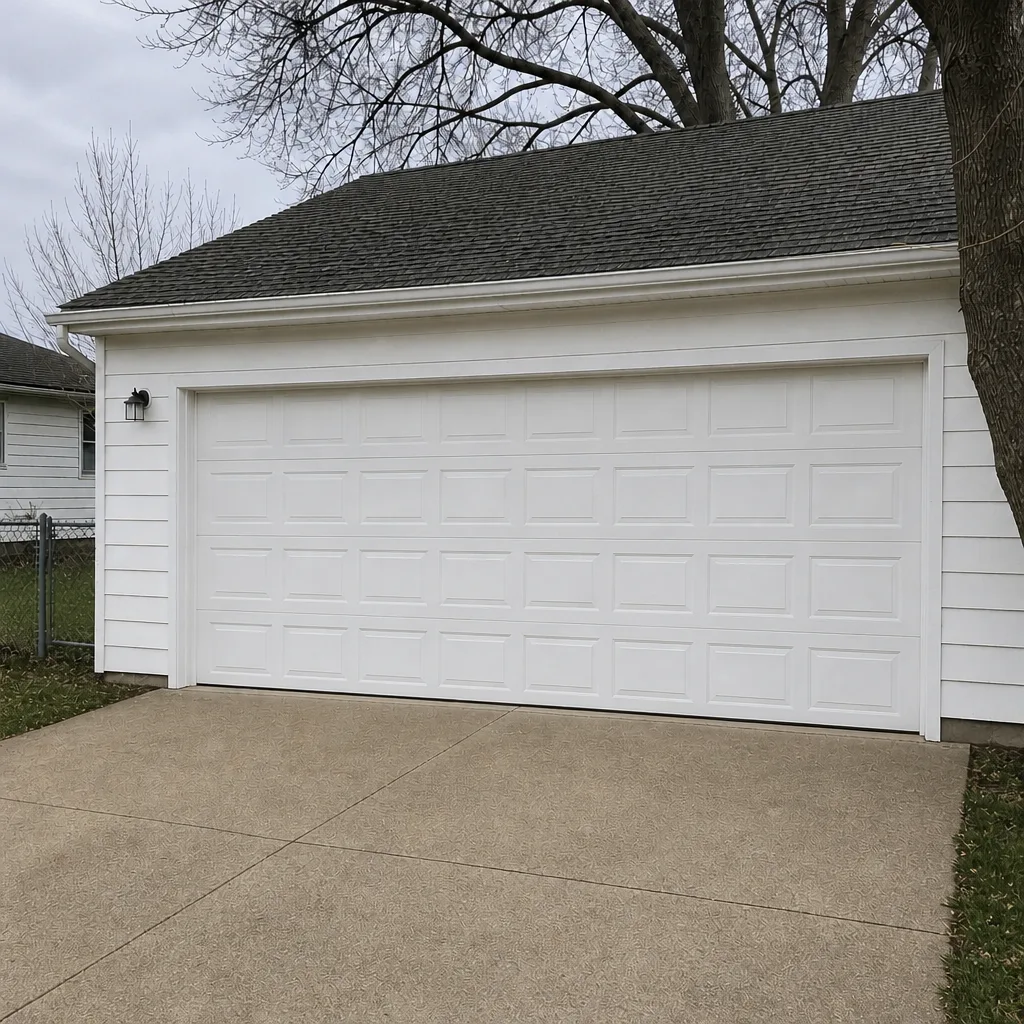
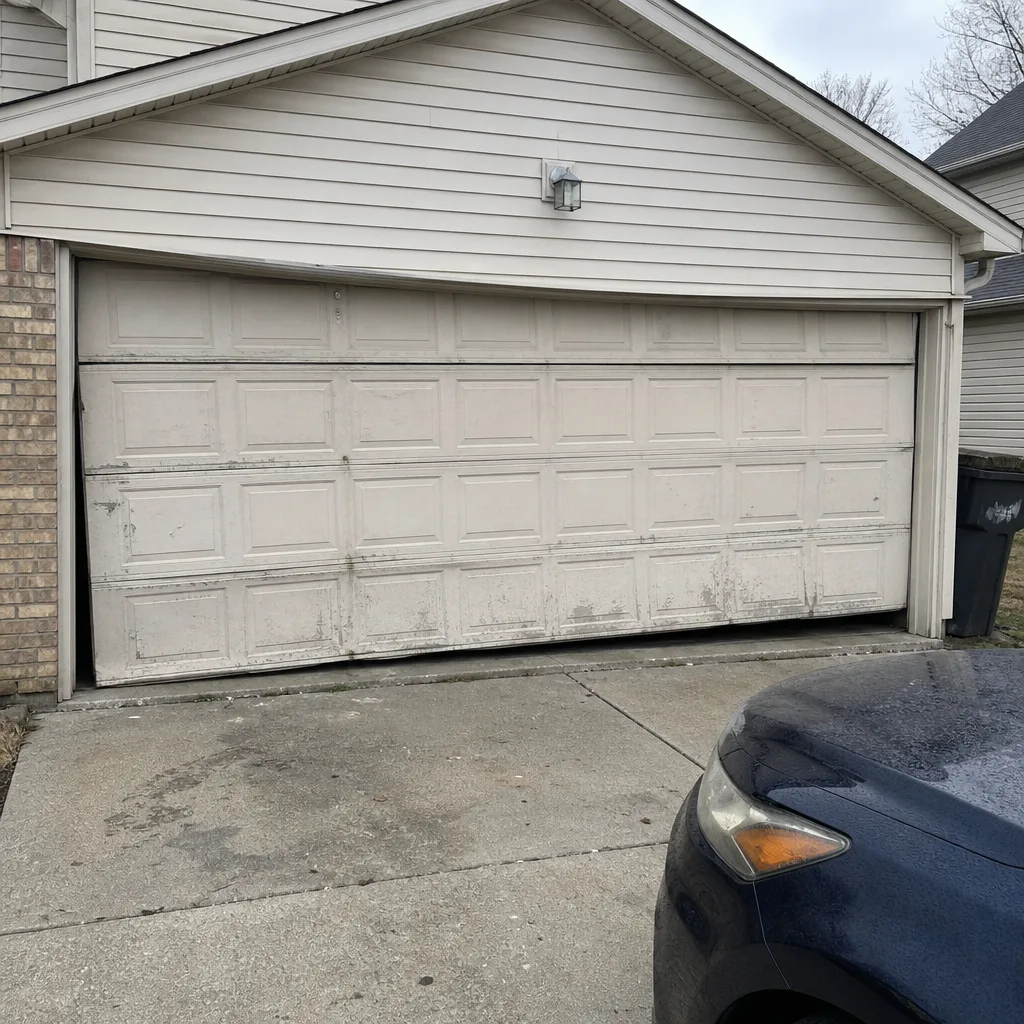
See the difference
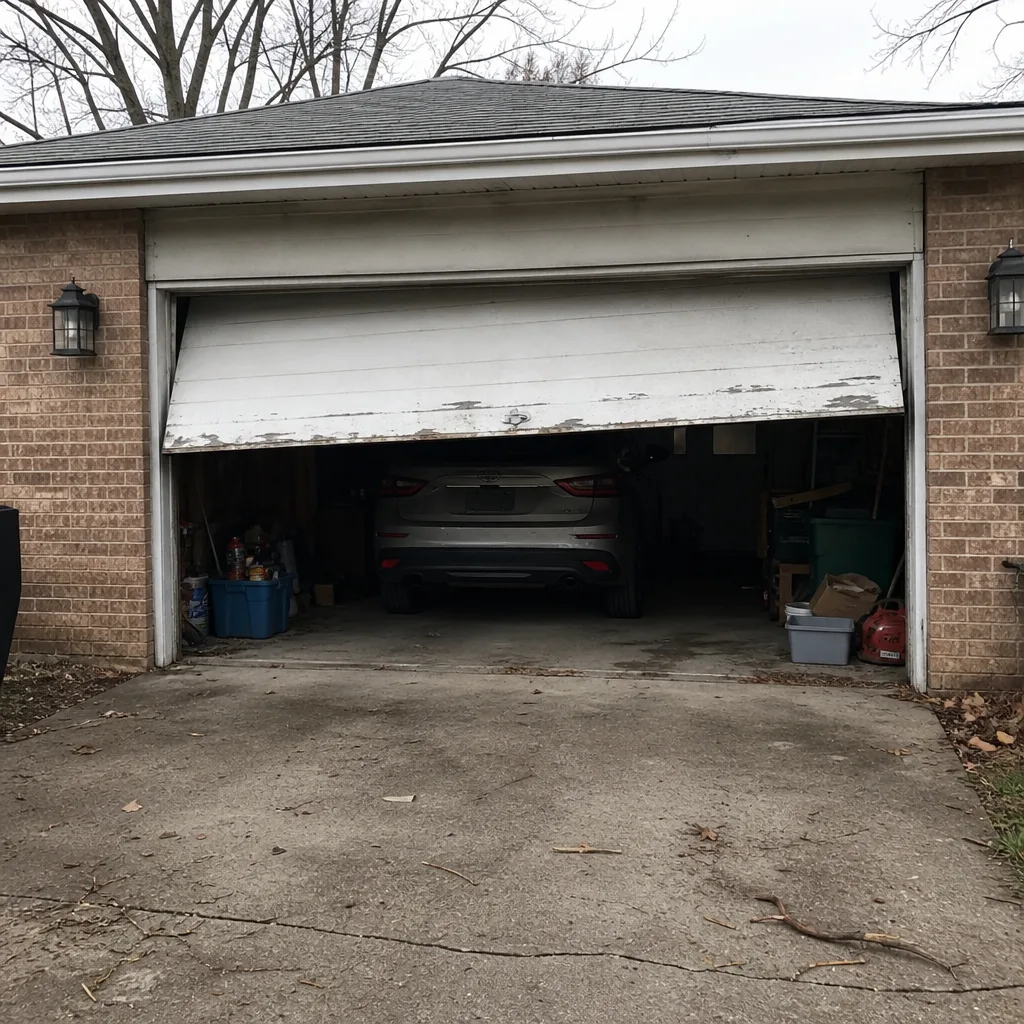 Before
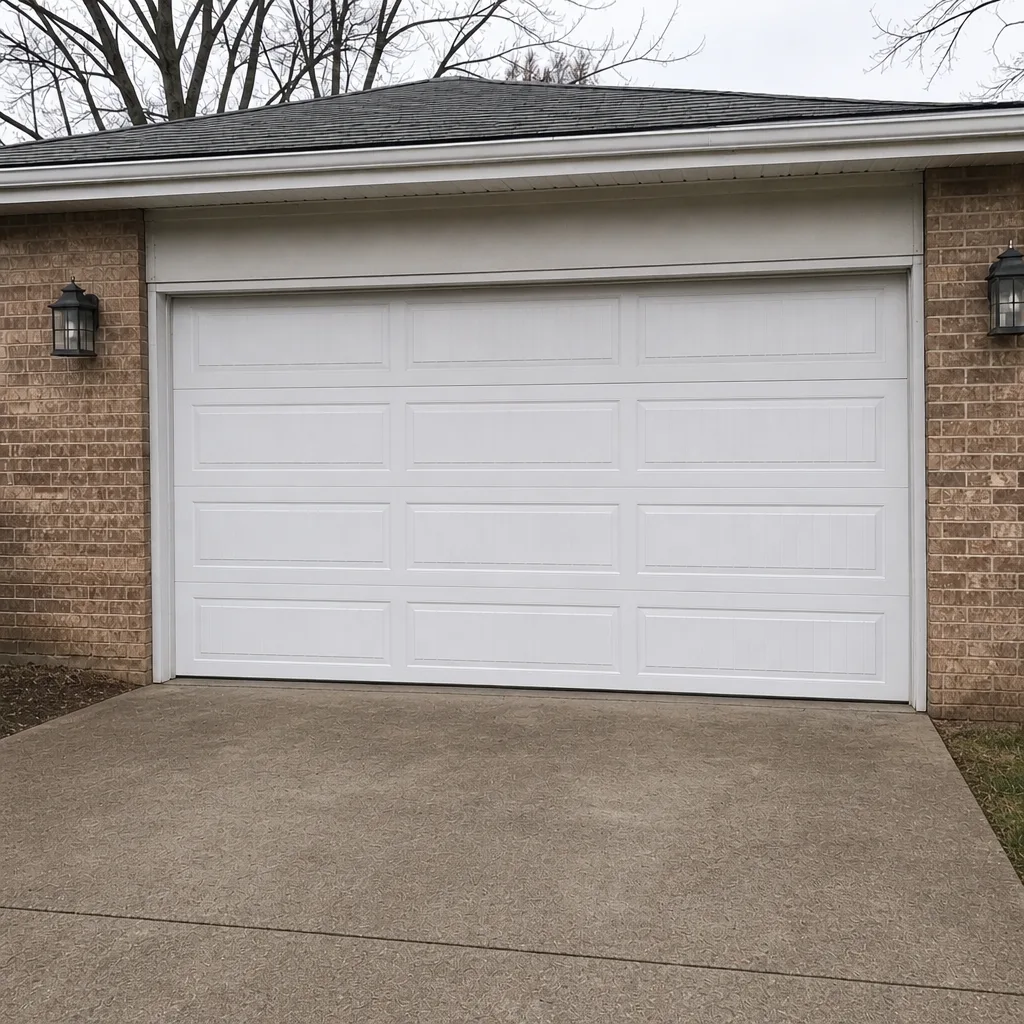 After
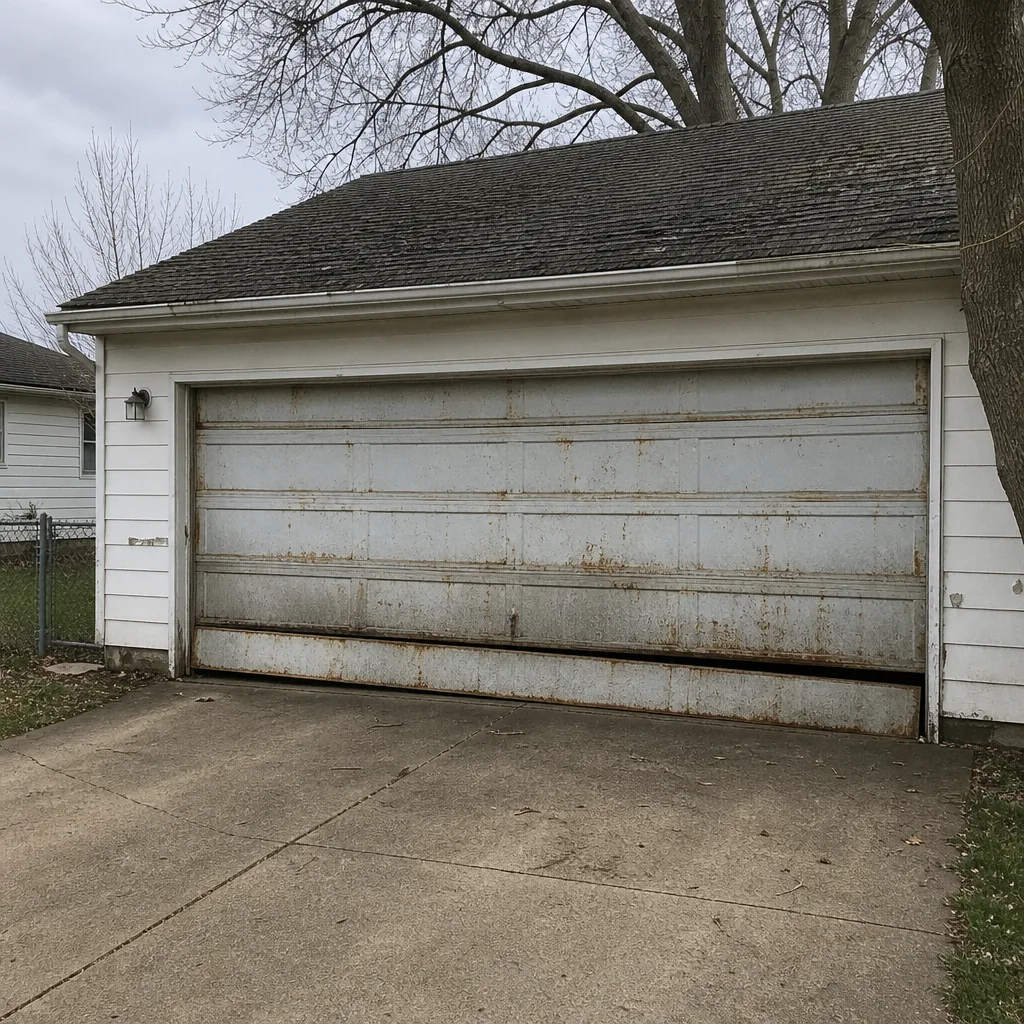 Before
 After
 Before
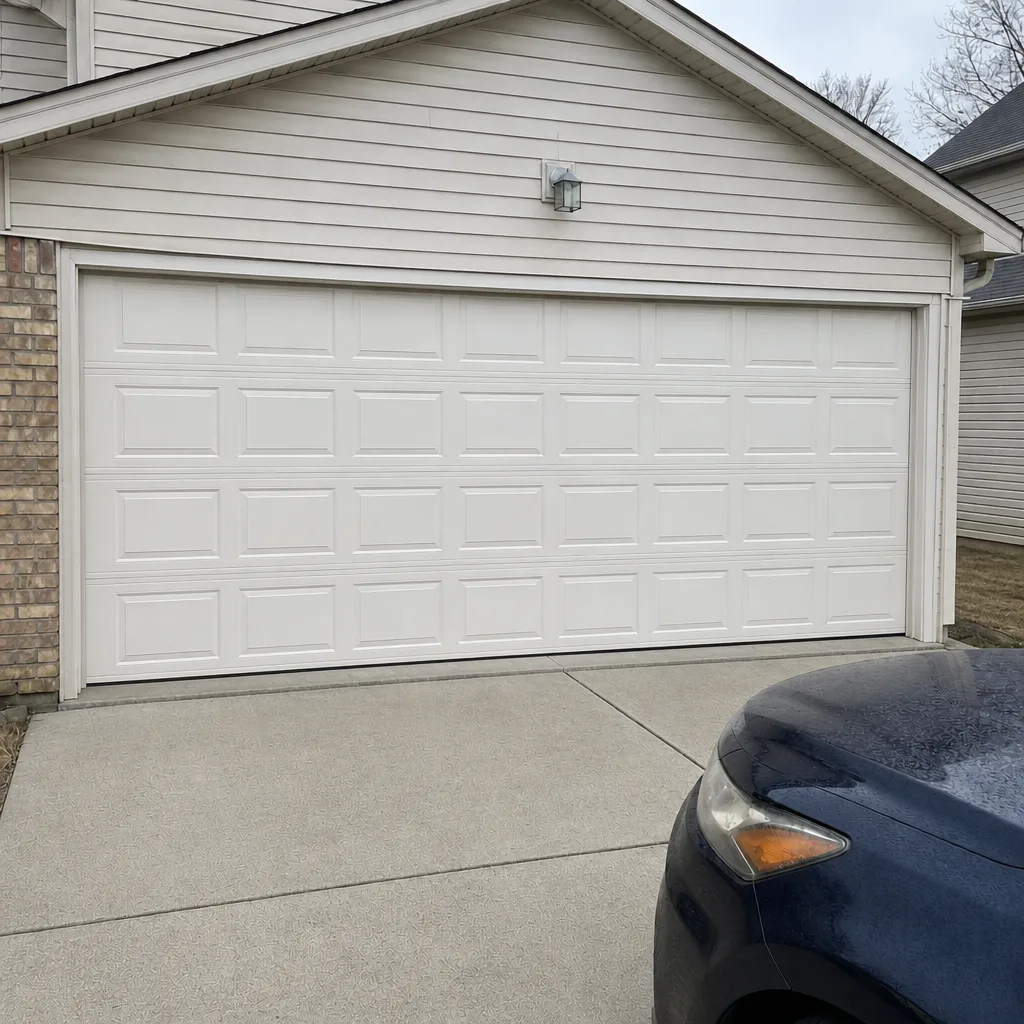 After
When to Call a Professional
Call a professional when a spring, cable, or track has failed; when the door is crooked, bound, or won’t stay level; when the opener makes grinding noises or won’t reverse on command; when the door won’t close and clearing the photo eyes doesn’t fix it; or when your garage door has been hit by a car, a bicycle, or anything else. Springs are matchless in this category – the tension is too high and the risk too real. If you’re not sure, call and we’ll help you sort it out. Noblesville Garage Door Repair offers free estimates in Noblesville – call (844) 747-6072. We answer 24/7. Fast dispatch from 7am to 7pm, Sunday through Friday. We’re closed Saturday. Fast dispatch, 7am-7pm, and the written estimate sets the price before any work begins.
Frequently Asked Questions
No. Garage door springs hold enough stored energy to cause serious injury when they release under tension, and the tools and technique required aren’t a standard homeowner skill. Even experienced DIY homeowners should leave this to a trained technician. Call (844) 747-6072 for a free estimate on spring repair.
Yes. Lubrication is one of the safest DIY garage door tasks and you can do it with white lithium grease and a silicone spray in about 15 minutes. Lubricate hinges, rollers, and tracks with the door fully closed, and check the door manual for any brand-specific guidance. If the door runs rough after lubrication, that’s a sign of a track or roller problem worth a professional look.
A broken spring has an obvious visible gap in it, and the door will typically feel extremely heavy or refuse to lift without help. Look at the torsion springs on the shaft above the door and the extension springs along the horizontal tracks from a safe distance. Don’t touch the spring. If you see a gap, call (844) 747-6072.
Most likely, yes. Every major opener brand requires professional installation or repair to keep the warranty intact, and internal parts like the logic board and gear are specifically flagged. If the opener is still under warranty, a professional repair is the way to protect it. Call (844) 747-6072 for an estimate; we work on Chamberlain, Genie, and all the major brands.
Run the ten-minute triage: look for a visible broken spring, check the tracks for bends, try the wall-mounted opener button, and clean the photo eyes. If the door is crooked, the tracks are bent, or you can see a broken spring, call right away. If the door opens from the wall button but not the remote, that’s a pairing issue you can often fix yourself. Call (844) 747-6072 if you’re not sure.
Often, yes. Same-day service is available for emergency garage door issues, and we treat emergency response as a core part of what we do. Call (844) 747-6072. We answer 24/7, and we dispatch Sunday through Friday, 7am to 7pm. If a call comes in outside dispatch hours, we’ll book you into the next opening.
The Bottom Line
The DIY vs professional question for garage doors comes down to one thing: stored energy. Weatherstripping, lubrication, photo-eye cleaning, and remote pairing are safe, cheap, and worth doing yourself. Springs, cables, tracks, panels, and opener internals are where the injury risk and hidden costs live, and those belong with a trained technician. Use the triage steps when something fails, keep your door manuals handy, and don’t touch anything under tension. If you’ve hit the limit of what feels safe, call Noblesville Garage Door Repair at (844) 747-6072 for a free estimate. We answer 24/7. Fast dispatch from 7am to 7pm, Sunday through Friday; closed Saturday. Our technicians have up to 9 years of experience, and the written estimate sets the price before any work starts.
Written by the team at Noblesville Garage Door Repair.